Complete Guide to Qwen CLI: configuring MCP, Agent Skills, and Rules for real-world development
What is Vibe Coding
Vibe Coding is a programming approach where you describe the desired result in natural language, and the AI (most often a language model like Claude, ChatGPT, and in this article Qwen) generates the code for you.
A typical process looks like this: you say something like "make me a landing page with a subscription form and scroll animation", the AI outputs working code, you look at the result and refine it - "make the button larger, add a dark theme" and so on. Essentially, programming turns into a dialogue.
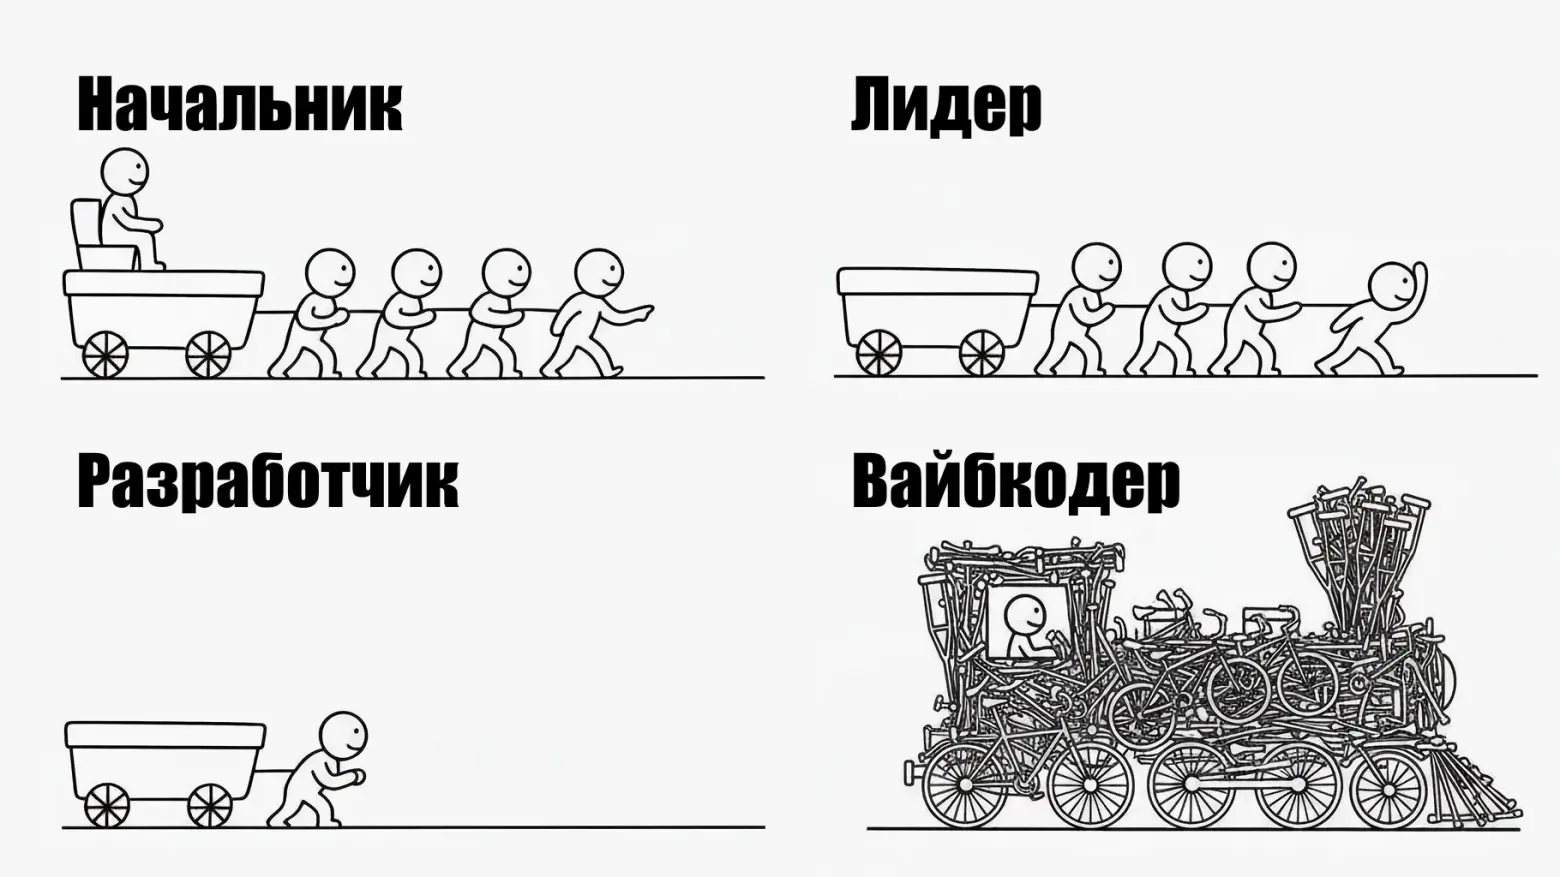
This works well for prototypes, internal tools, and small projects. For complex production systems, vibe coding is currently more of a starting point (for example, to set up a project) - without understanding the code, it's difficult to debug, scale, and maintain the result.
In this article, we'll figure out how to start vibe coding with Qwen CLI absolutely for free: we'll build a small application and get acquainted with MCP, Rules, and Skills.
Installing and configuring Qwen CLI
What we will need:
After everything is set up, you need to install qwen-code via npm in the console:
npm install -g @qwen-code/qwen-code@latest
Once the package is installed on your machine, you can start vibe coding by simply running the command:
qwen
But on your first use, you will be asked to authenticate. Choose Qwen OAuth authentication (free) and follow the instructions to log in.
In general, what Qwen Code can do:
- Creates features from descriptions.
- Debugs and fixes errors: describe a bug or paste an error message. Qwen Code will analyze your codebase, find the problem, and implement a fix.
- Navigates any codebase: Qwen Code takes the entire structure of your project into account, can find up-to-date information on the internet, and with the help of MCP - pull data from external sources such as Google Drive, Figma, and others.
- Automates routine tasks: fix minor linter issues, resolve merge conflicts.
Qwen CLI has many settings, all of which can be viewed here. To go to the settings, enter in the console:
/settings
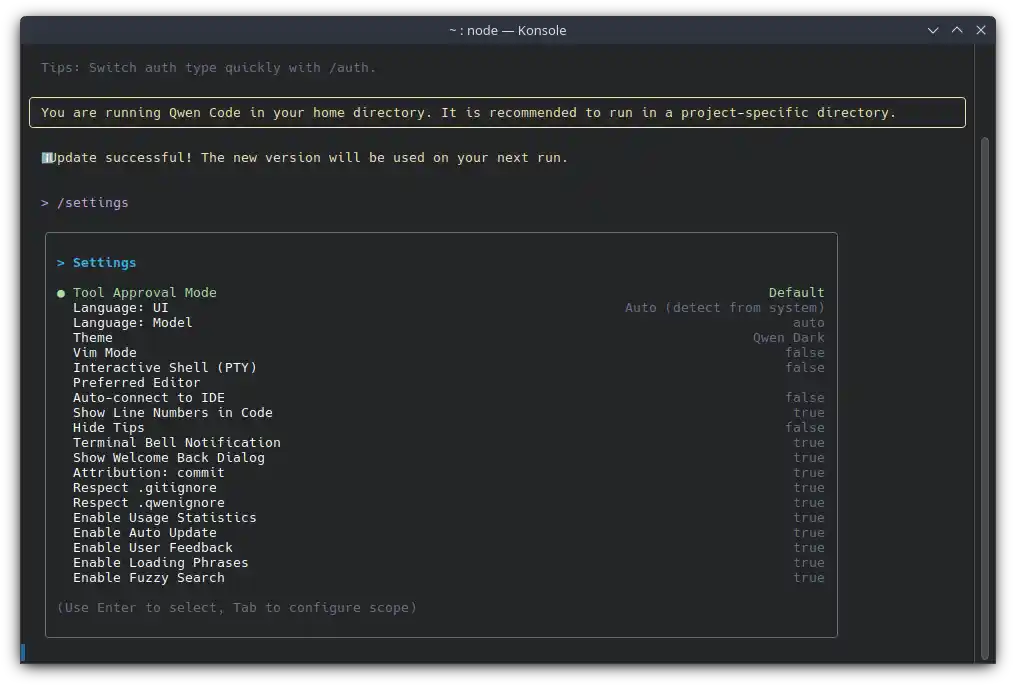
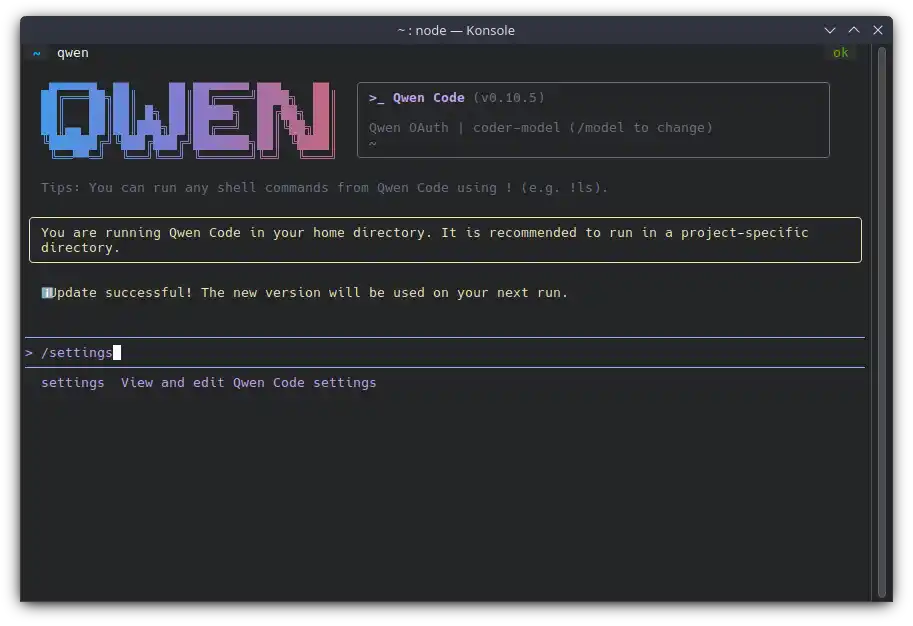 Mainly in these settings, we will need to change, for example, the theme, select a model, interface language, and so on. There are many settings, I recommend clicking through everything.
MCP
MCP is an open standard that allows AI assistants to securely connect to external data sources and tools. Before MCP, developers had to write unique plugins and connectors for each individual neural network (separately for ChatGPT, separately for Claude, separately for local models).
Briefly: a single universal language for the AI to communicate with your computer and services.
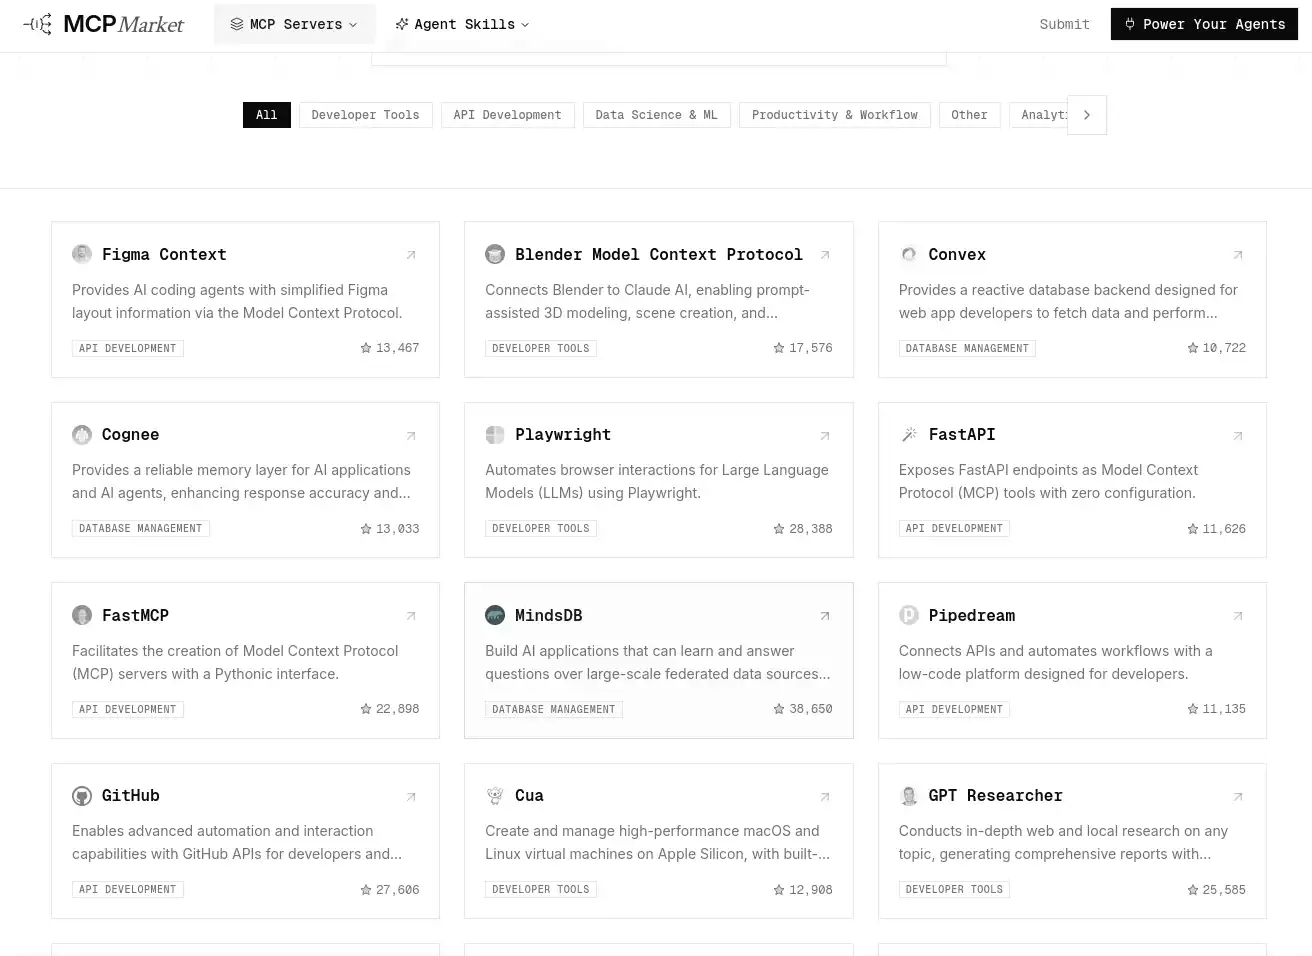
To use MCP with Qwen, you need to create a .qwen folder, which will store the settings.json file. We will add connectors to this file. But where do we get them? There is a service for this mcpmarket.com. It has collected many MCP services that you can use in your work - connect to Figma, Blender, Playwright, etc.
An example json with a connected MCP:
{
  "mcpServers": {
    "pythonTools": {
      "command": "python",
      "args": ["-m", "my_mcp_server", "--port", "8080"],
      "cwd": "./mcp-servers/python",
      "env": {
        "DATABASE_URL": "$DB_CONNECTION_STRING",
        "API_KEY": "${EXTERNAL_API_KEY}"
      },
      "timeout": 15000
    }
  }
}
You can read more in the Qwen MCP documentation.
Agent Skills
This is a way to give the neural network not just a “calculator” (or other tools or utilities with which we upgrade our neural network), but a whole manual and a set of tools that it will literally pull off the shelf at the exact moment it faces a profile task.
An example of what a skill structure looks like:
.skills/
└── check-npm-deps/            # Specific skill folder
    ├── SKILL.md               # Main file with metadata and instructions
    ├── package-template.json  # Auxiliary template file
    └── audit-script.sh        # Executable script
In our example, which we will consider later, skills will be located in the .qwen/skills folder.
An example of what is contained in SKILL.md:
---
name: your-skill-name
description: A brief description of what this skill does and when to use it
---

# Your skill name

## Instructions
Provide clear step-by-step instructions for Qwen Code.

## Examples
Provide specific examples of using this skill.
But how do skills work? Let's consider in practice:
- Discovery: When the AI agent starts, it does not read the entire
SKILL.mdfile. It only looks at its header (YAML frontmatter) and reads the name and description. The AI remembers: "Aha, I have the check-npm-deps skill, which is needed to solve problems withpackage-lock.jsonand dependencies." This takes only a couple dozen tokens. - Matching: You write to the agent: "My colleague's
npm installis failing, check the library versions." - Activation: The model understands that the task perfectly fits the skill description. Only at this moment does the agent pull all the contents of the
SKILL.mdfile (detailed step-by-step instructions) into its context and gets access to the scripts in the folder.
Where you can download ready-made skills:
 You can read more about Agent Skills here:
Rules
Rules are a charter, a job description (sounds bureaucratic, but it's easier to understand), and standards that the AI always obeys.
The main difference between such rules is that they constantly hang in the context. With any of your requests, be it "write a function" or "why is the test failing", the neural network first runs its answer through the filter of these global instructions.
What is usually written in rules:
- Technology stack and architecture: "This project is written in Next.js 14 with App Router. Use Tailwind CSS for styles."
- Coding standards: "Never use any in TypeScript. Functions must be arrow functions. Always log errors via Sentry."
- Tone and format of communication: "Keep answers short. Only provide code without long apologies and explanations, unless I asked otherwise."
- Hard restrictions: "Never delete tables in the database directly."
Difference between Skills and Rules.
-
A Rule will tell the AI: "In this project, we strictly freeze dependency versions. When adding new libraries, never use the
^or~symbols inpackage.json." This is a basic standard that the AI must always remember so that the system later installs specifically the exact same dependencies as you have. -
A Skill will give the AI a tool: A check-lockfile script that the AI can run on its own initiative to look into package-lock.json, check the complex structure of sub-dependencies of a specific package (for example, whether version 0.21.1 is strictly fixed there) and make sure that nothing breaks for a colleague when performing npm install.
To set rules for Qwen CLI, you need to add a QWEN.md file (must be in uppercase). QWEN.md - is, roughly speaking, the master prompt of the project, which will be taken into account during any request.
After the code is generated, we must re-check what it generated, add our own rules, and clean up what it made mistakes in. Use regular Markdown syntax to describe standards and limitations. Here is an example of how this can be structured:
# Session Rules

## Architecture and stack
- Use TypeScript and strict typing. No `any`.
- Write functional components, don't use classes.

## Working with dependencies
**CRITICAL:** In this project, we strictly peg package versions.
Never use floating versions (`^` or `~` symbols) when adding libraries. package-lock.json fixes the exact versions (e.g. strictly 0.21.1) of all installed packages and their own sub-dependencies. The AI agent must not violate this mechanism, so that when a colleague types `npm install`, the system installs precisely the same dependencies as everyone else.

## Communication format
- Provide ready code without unnecessary apologies and long intros like "Of course, here is your code".
- Log errors only through our internal system, not through `console.log`.
⚠️ Important nuance (Qwen CLI Trick)
Qwen family models (especially if you use local Coder versions) have a known peculiarity — developers in the community often complain about "selective rule execution". The neural network sometimes "forgets" soft instructions, getting carried away with writing code.
For Qwen CLI to accurately listen to you, apply a strict "engineering" approach:
-
Use caps lock for the most important things: CRITICAL:, MANDATORY:, ALWAYS.
-
If a rule is frequently violated, add a postscript: - this is NON-NEGOTIABLE.
-
Provide a specific template or example right in the rule text - it's easier for models to copy a pattern than follow an abstract description.
Practice: building a Next.js application (Pet Store) from scratch
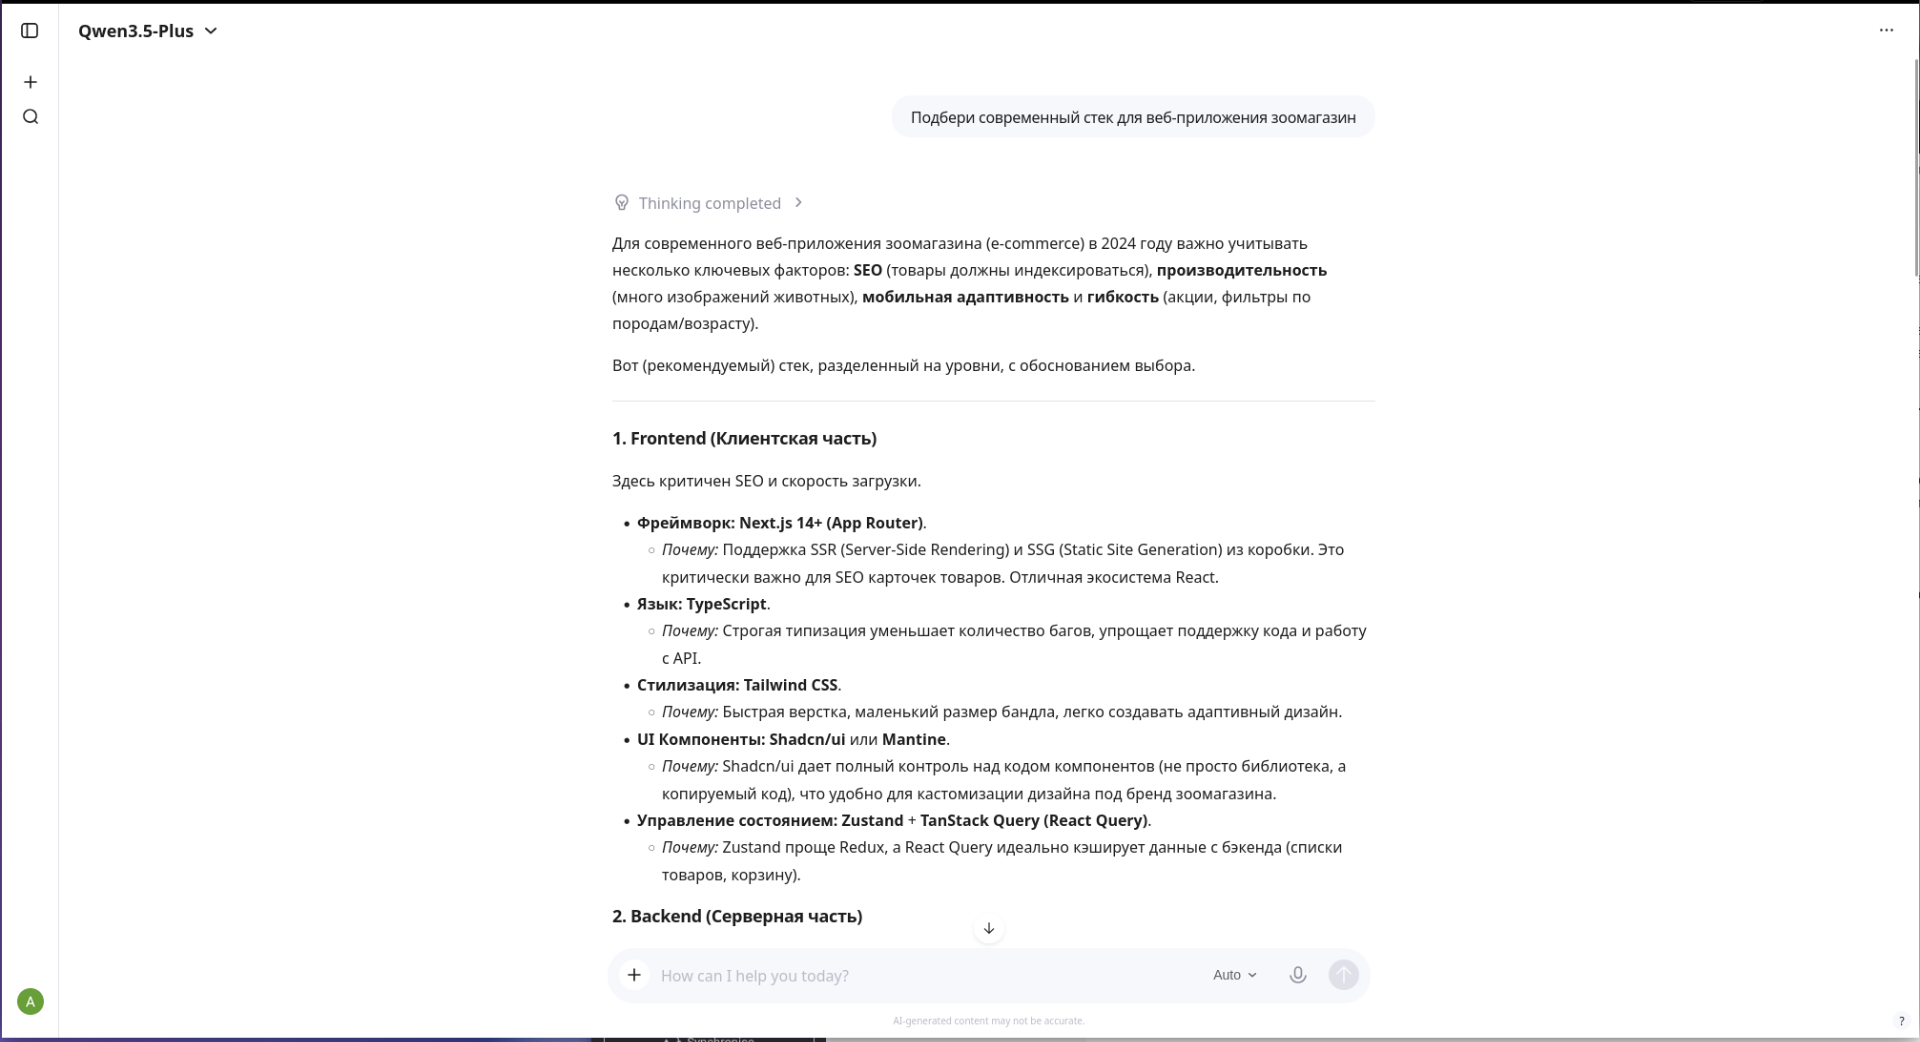
To create an application, we need requirements. We don't want to write them ourselves, so we delegate this task to a neural network. Any top 5 model will do, but in this example, I'm using DeepSeek to generate md-files.
Why not Qwen? It sometimes has issues rendering Markdown in its web interface. Of course, you can use the CLI - whatever is more convenient. We send the neural network a prompt and get structured requirements.
What we will tell the neural network:
-
What kind of project we have.
-
Which stack to choose? (Here we can also ask the neural network to choose technologies for our project).
-
What pages there will be.
-
What style.
-
and so on.
Prompt example
Act as an experienced Systems Analyst and Product Manager. Create a detailed Product Requirements Document for developing an online pet store web application. Provide the answer strictly as code for a Markdown file (.md).

Technology stack: > - Frontend and backend: Next.js, UI: Shadcn UI.

    Database: MySQL

Description of functionality and screens:

    Main page (Catalog):

        Navigation in the form of tabs for quick transition to categories: Promotions, Cats, Dogs, Rodents, Fish, Birds, Vet Pharmacy.

        Compact promotional slider with discounts (for example, on food, medicines, and special offers). It should not take up the whole screen.

        Issuance of products in the form of a grid of cards. In the card: photo, name, price, and add to cart button.

        When clicking on a card, it transitions to the product description page.

    Product page:

        Detailed product description, properties, enlarged photo, price.

        "Add to Cart" button (with the ability to choose the quantity).

    Shopping Cart:

        List of all added products (with the ability to remove an item or change the quantity).

        Total order amount.

        "Order" button. Describe the basic checkout flow (entering contacts, delivery address).

Requirements for the generated .md file structure:

    Project overview and goals.

    User roles (Guest, Client).

    Functional requirements (page by page).

    Non-functional requirements (responsiveness for mobile devices, performance).

    Basic MySQL database schema (main tables: users, products, categories, orders and their relationships).
We pass our prompt to the neural network and get this response - simply excellent:
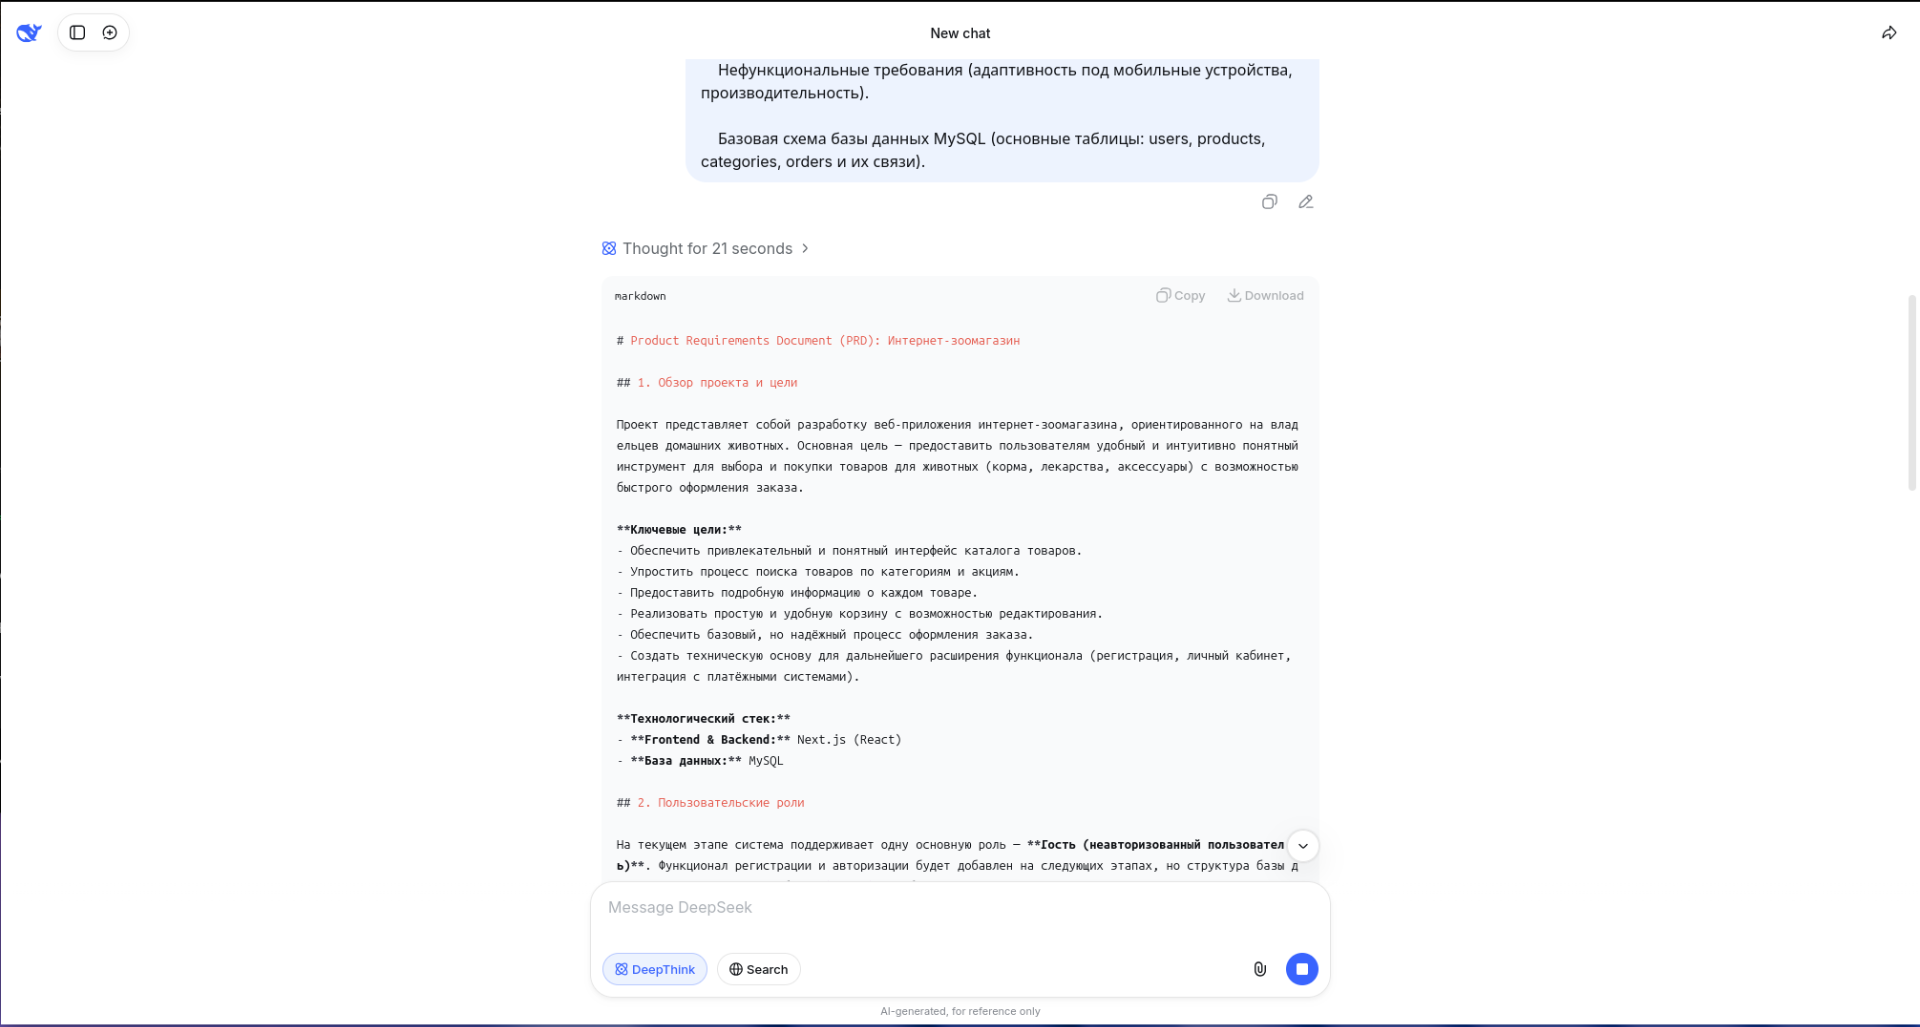
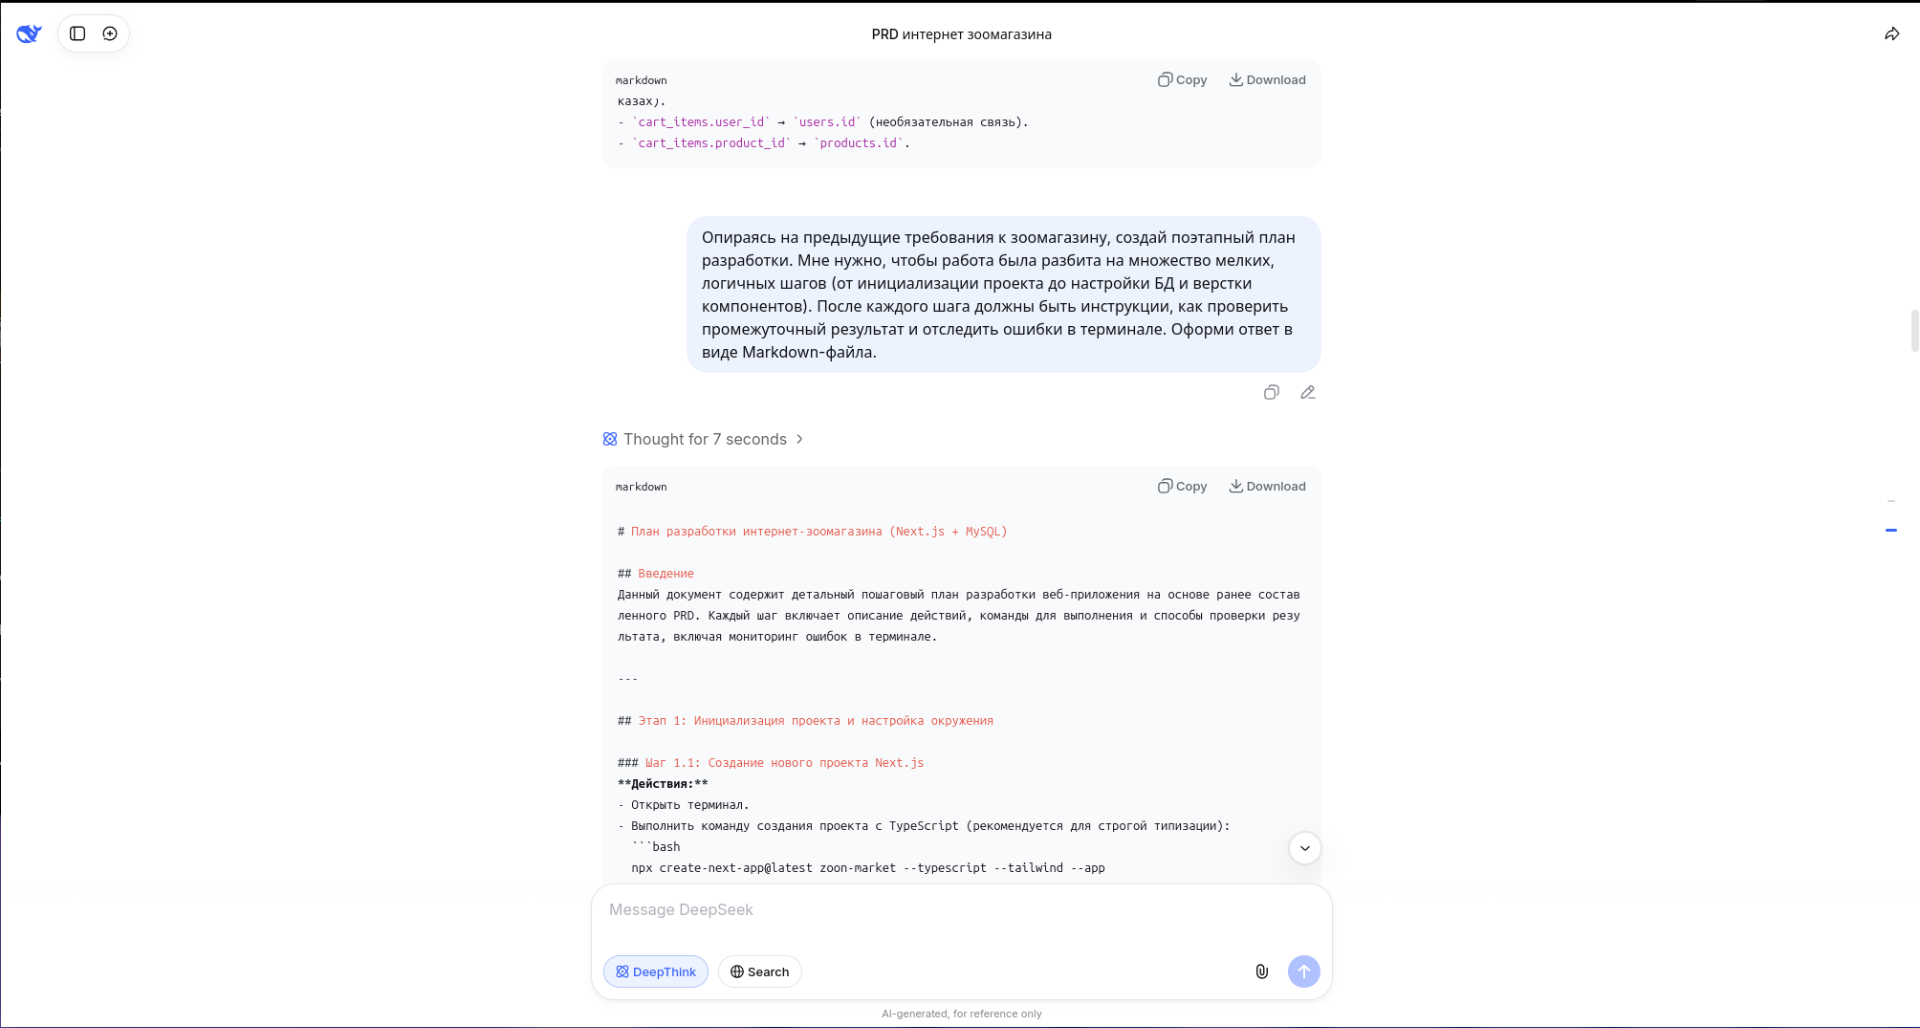
Don't forget to double-check what the neural network generated for us. But for development to go smoothly, clear phases are needed. Let's ask the neural network to create a step-by-step plan based on the generated md-file.
Prompt example:
Based on the previous pet store requirements, create a phased development plan.
I need the work to be broken down into many small, logical steps (from project initialization to DB setup and component markup).
After each step, there should be instructions on how to check the intermediate result and track errors in the terminal. Format the response as a Markdown file.
 Again we double check what the neural network generated. After we've obtained the requirements, let's start vibe coding. Create a project in any directory and add our two files.
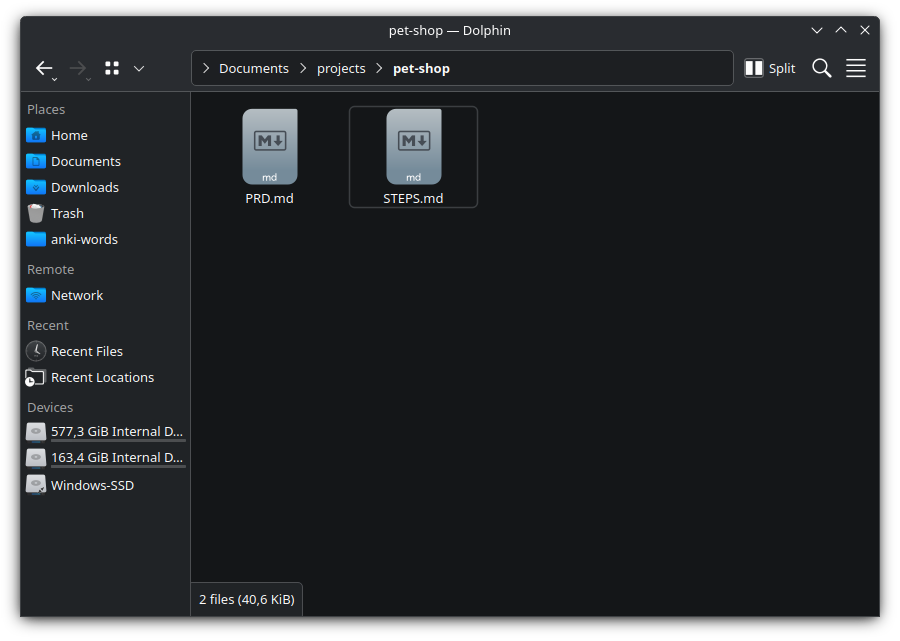
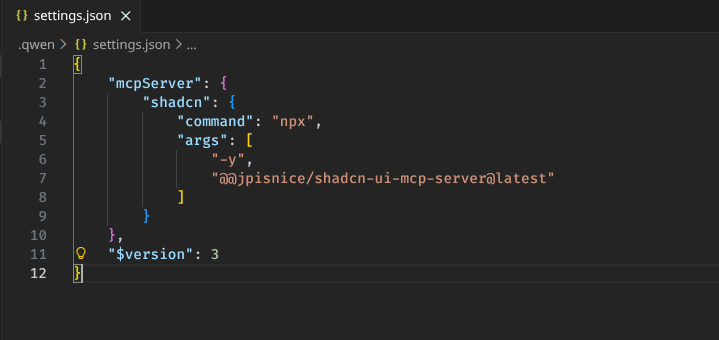
But we still need to configure our project. Create a .qwen folder, and in it - a settings.json file: our settings for the Qwen CLI will go here. First thing we'll do is connect MCP. We will use Shadcn UI v4 MCP Server, with its help our app's visual style will look better.
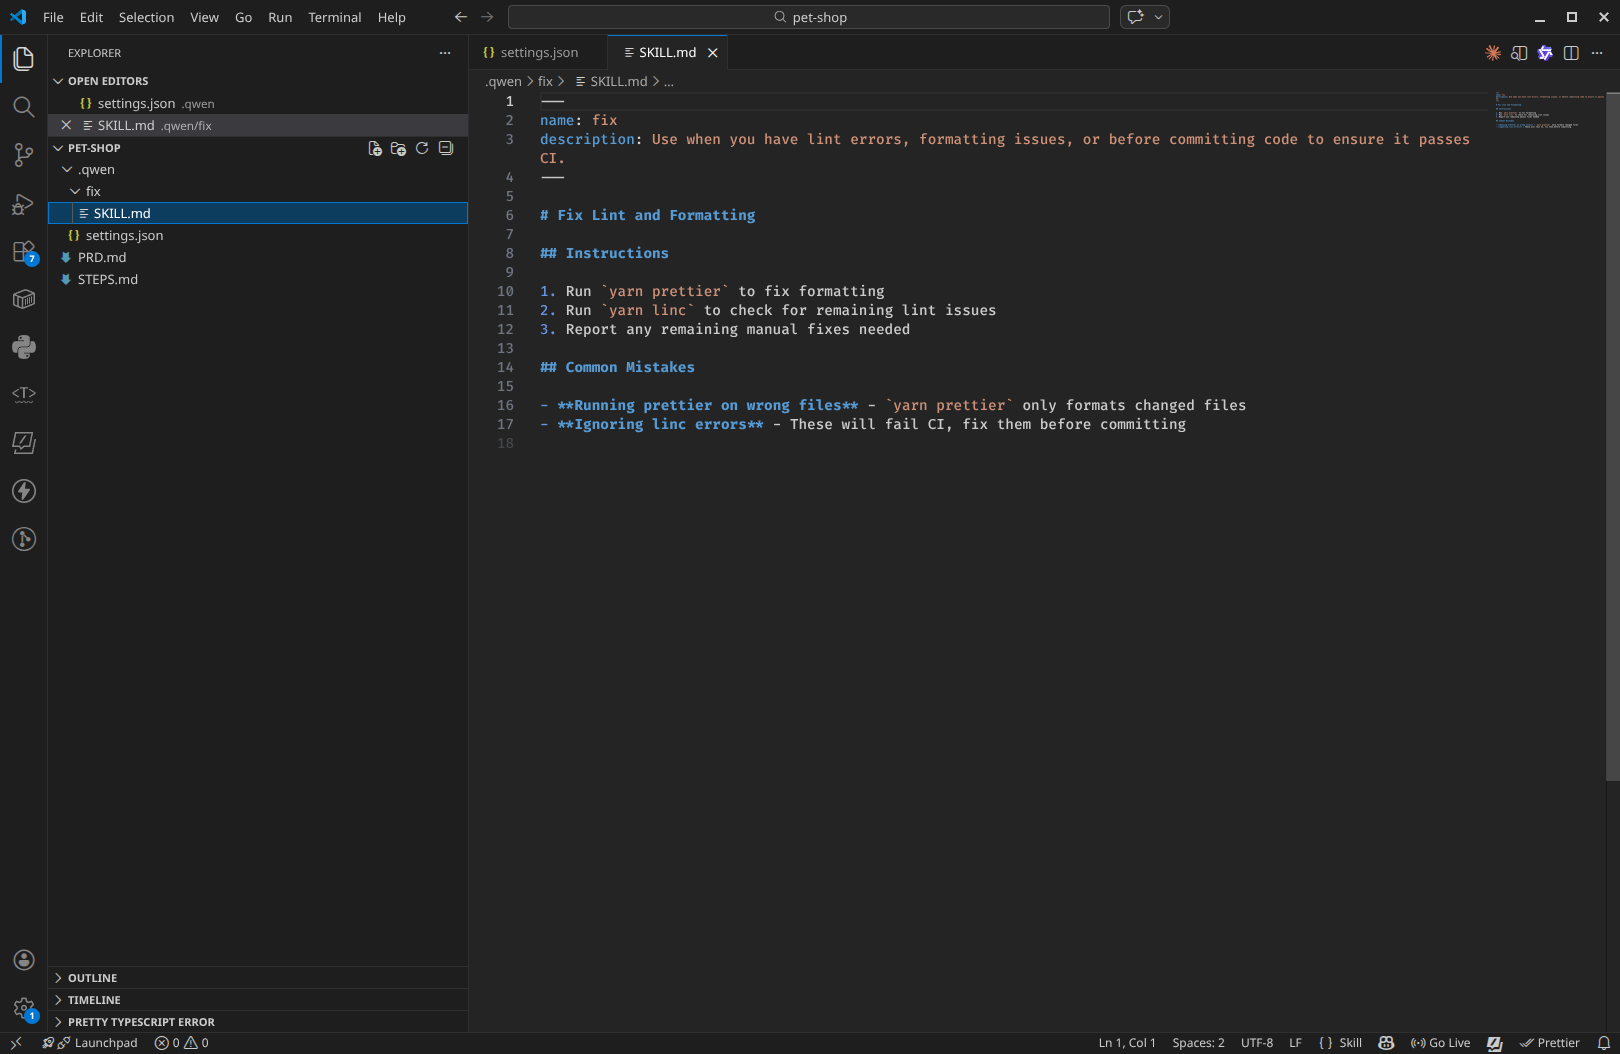
Add the SKILL.md file to our .qwen/fix folder. We'll grab the skill from here https://mcpmarket.com/tools/skills/react-code-fix-linter.
Next we need to explain to the neural network what we want from it.
Prompt example:
Create the project using the project documentation in the @PRD.md file
and following the plan from the @STEPS.md file
And the work started - notice that the neural network took the plan from our file.
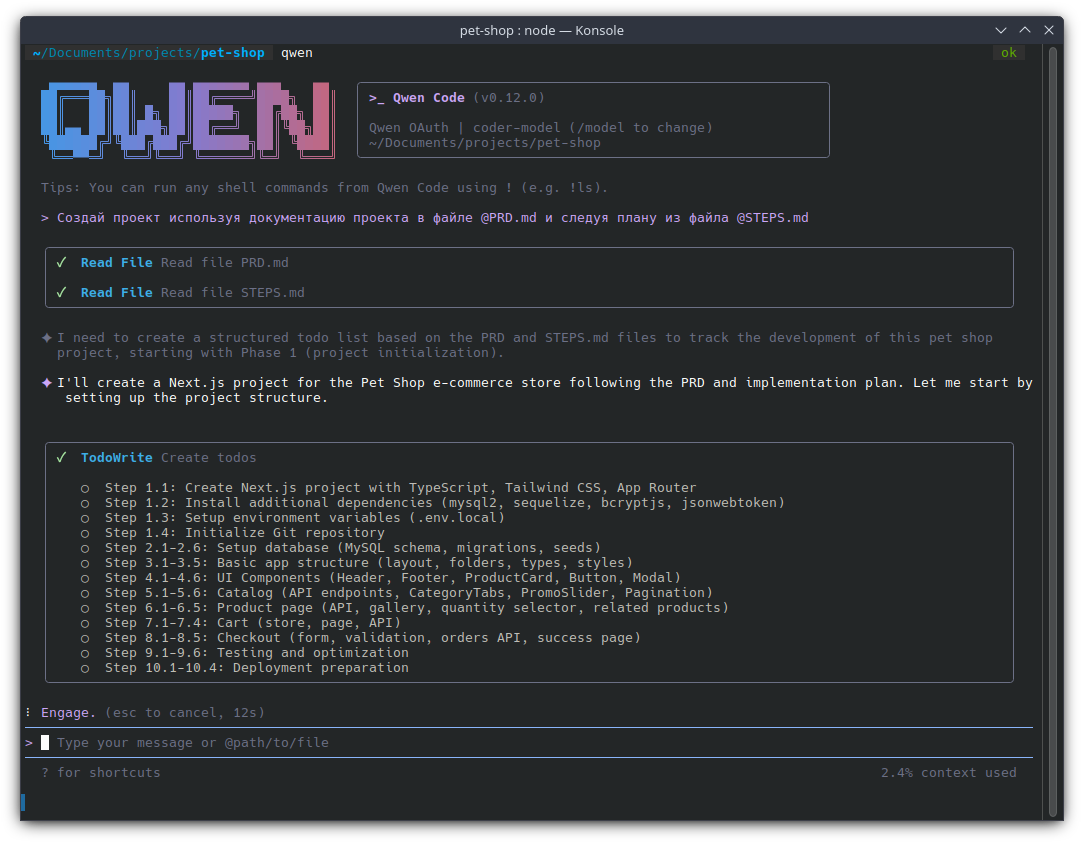
We got something like this.

By the way, to build the project, I spent only 12% of the context.
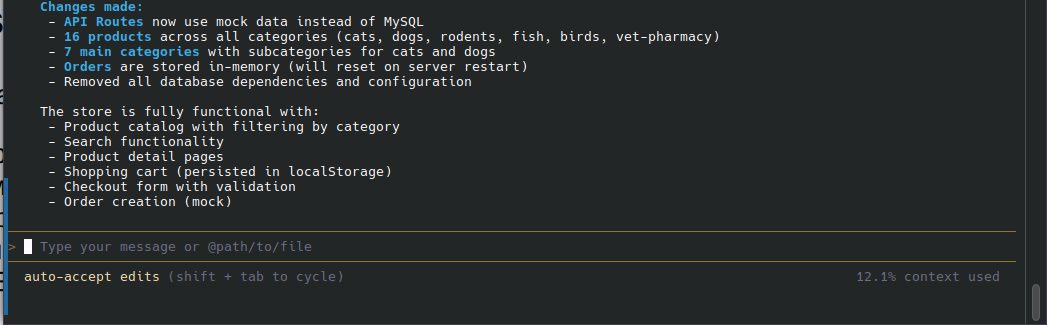
So experiment away.
Conclusion
Just like that, spending minimal time on routine (and elegantly delegating requirement generation to another neural network), we spun up a working skeleton of a Next.js app from scratch. And all this without leaving the terminal and using only 12% of context!
This is no longer a blind generation of code chunks in a "make it beautiful for me" format. In combination with Qwen CLI, strict project rules (Rules), external connectors (MCP), and narrow-focused skills (Skills), the language model turns into a sane assistant.
Yes, the result still needs to be monitored. But you must admit, acting as a team lead who simply reviews the code and sets the vector (vibe!) is much more pleasant than manually setting up routing and centering divs.
You can try different CLIs:
Comments
Log in to join the conversation
Sign In